Curved Piecing and inset curves
Share
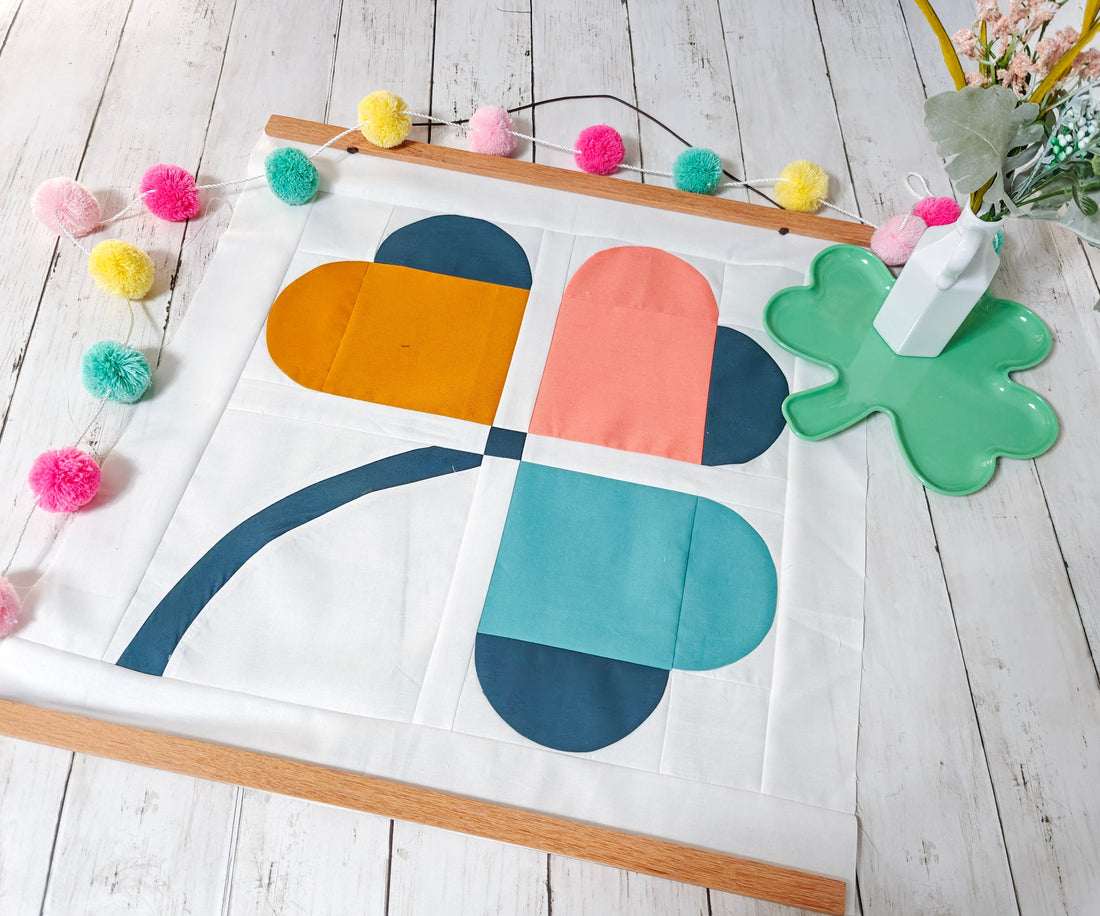
Curved piecing and inset curves can be intimidating for quilters, but with the right techniques and tutorials, you can create a stunning lucky mini quilt. Follow these expert tips to ensure your quilting project is a success.
Understanding Curved Piecing
Curved piecing involves sewing together pieces of fabric with curved edges to create a smooth, flowing design. To master curved piecing, use a smaller stitch length (around 1.5mm) to help ease the fabric around the curve without puckering. Pinning is crucial to ensure the pieces align perfectly before sewing.
Perfecting Inset Curves
Inset curves involve sewing a curved pucker in a piece of fabric, cutting the seam allowance and sewing in a strip, creating a unique design element in your quilt. Start by marking the center points of both curves to ensure they align correctly. Press the seams carefully to maintain the shape of the curves.
Essential Tools for Curved Piecing
A rotary cutter with a sharp blade is essential for precise cutting, and a quarter-inch foot for your sewing machine will help you maintain a consistent seam allowance throughout your project.
Practice Makes Perfect
Don't be discouraged if your first attempts at curved piecing and inset curves aren't perfect. Like any skill, quilting takes practice. Start with smaller projects, like a lucky mini quilt, to hone your curved piecing techniques before tackling larger quilts.
Get Started on Your Lucky Mini Quilt
Ready to try your hand at curved piecing and inset curves? Sign up below to receive exclusive tutorials and tips for creating a lucky mini quilt that will impress your friends and family. Enter your email to access the lucky tutorial page and start quilting like a pro!